
How to build a plant propagation shelf 🌿
I’ve been staring at this blank space above my couch for months and finally decided to fill it with my favorite things… plants!! I was coming up with the design and build plans for this project as I went, but I think it turned out really fun and is such a good beginner friendly project!
Discloser: This page contains affiliate links. I will receive a commission for items purchased through these links at no extra cost to you! I appreciate your support 🕺 Please read all labels and follow all manufacturer safety recommendations when working with paints, stains, and other equipment.
Quick Links:
Step 1: Pick your wood
For this project you will need two 1x3 boards. You can easily grab these at Home Depot or Lowes. If you are going to paint your finished shelves I recommend getting primed pine boards, but if you are going to stain your shelves get a natural wood. I’d avoid poplar wood if you are staining… but more on that later.

Step 2: Cutting your shelves down to size
Next you will need to decide how long you want your shelves to be. I wanted to hang these shelves up behind my couch, and a general rule in interior design is that the width of the art above your couch should be about ⅔ of the length of your couch. So in my case that ended up being 68in.

If you don’t feel comfortable using a saw, you can totally get the employees to help you cut down your boards at the store. I ended up cutting them myself with a miter saw. This is one of the best tools to get for a beginner DIYer because you can do so much with it! Everything from installing baseboards, accent wall trim, and even building shelves!
My hot tip for you is to actually cut the two pieces of your shelf at the same time so they are exactly the same length.

Step 3: Marking the wood
The next step is marking where you need to drill the holes for the propagation tubes.
The measurements of this will obviously depend on the size of test tubes you get and how spaced out you want between them, but here is what I did for mine!
I started by drawing a line 7/8in from the edge of the wood all the way down. I’m confident there is an easier way to draw this line LOL but I just used my square to help me draw this.
Since my shelf is 68in long, and I wanted 16 tubes per shelf I landed on spacing out the tubes 4in apart from each other. This step was so easy I just put my tape measure along the line I drew and then marked every 4in.


Step 4: Drilling the holes
Now comes the fun part, drilling the holes for your tubes! To do this I used a drill with a 7/8in spade bit (sometimes these are called paddle bits).
You want the hole to be slightly bigger than the diameter of the test tube, but not bigger than the diameter of the top lip of the test tube. This will allow the tube to slide into the hole and let the lip catch on the shelf.

After you get the bit into your drill, line the point of the spade bit up with your markings, tip your drill to 90 degrees and go for it! One tip is that sometimes it’s really easy to accidentally have your drill at the wrong angle which will mess up the hole. Just make sure you get the drill 90 degrees from the shelf and you should be good!

I put a couple pieces of scrap wood under my hole and this helped reduce some tear out on the back of the hole. It wasn’t perfect, but it definitely helped!

Step 5: Sanding
It’s likely you will have to do a little sanding after drilling the holes, but sometimes it is hard to know just how much to sand because it can be hard to see where the wood is bumpy! So a general rule is that if you can feel something bumpy with your hand…. It’ll be bumpy in the finished product.
If you don’t have that many power tools you can totally sand it down by hand but I think sanding is so much easier with an electric sander. I did one round of sanding with 120 grit sandpaper, and then a second round with 220 grit.

Step 6: Building the shelf!
Now that everything is cut, drilled, and san ded you are ready to attach the boards! Your best friend for this step is going to be wood glue. Take the bottom piece of your shelf (aka the piece of wood with no holes in it!) and add a bead of glue all the way down the top.
Now this part is a little tricky to do on your own, but you will need to place the top of your shelf on the glue. If you have a second person this would be super easy, but again not impossible by yourself!


You could just clamp this down and wait for the glue to dry, but I decided to add a few brad nails to hold everything together while it glued + provide just a little extra strength. I used a battery powered brad nailer to do this, but you could totally nail it together by hand if you wanted to. A little tip on using the brad nailer…. practice on a couple scarp pieces of wood first to make sure you have it set to the right power setting. I had it on too light of a setting and the nails weren’t going in all the way.
If you noticed some wood glue running over the edges just grab a wet paper towel and it should wipe off easily!
Before moving onto the next step, make sure you fill the nail holes with a little bit of wood filler. You have to lightly sand those areas again when the filler dries.
Step 7: Stain or Paint
Now I initially thought that I was going to stain these shelves to look like my bookcases, so I started by applying a coat of pre-stain conditioner. This helps essentially prep the wood for stain and helps you avoid a blotchy finished look.
After 30min I went in with a gel stain and man oh man did it look BAD!!
Poplar is notoriously knows as a “hard to stain” wood, so idk why I thought I could beat the odds.

I have a huge collection of leftover paint from all my diy projects so I decided to just quickly pivot. I wasn’t sure if I wanted the shelves to be painted white like the walls or stand out a bit more with a color. So I painted one shelf white, one shelf a dark moody green and much to my surprise I actually ended up liking the white more. This was definitely a happy accident because I love that the shelves blend into the wall in the final product!
Tip: I would use a satin or semi-gloss paint (or poly acrylic finish for stain). There is a chance you will get some water on the shelves and these will be the easiest to wipe off and keep clean.

Step 8: Attach to the wall!
Now comes the fun part…. Putting it all together! To attach the shelves to the wall you will need a stud finder, drill or impact driver, level and some screws.
Again, this step is low-key kind of hard to do on your own but essentially you need to figure out where your shelf is going to hang on the wall and use a stud finder to mark where the studs are behind your shelf.

The way I did it was figure out where the closest stud was to the middle of the shelf and pre-drilled my screw into the board. I help the shelf up with one hand and drove in the screw with my other hand. Don’t freak out if the shelf isn’t level during this step.
The first screw is essentially just holding the shelf up for you and then you can work your way down, find another stud, level out the shelf and then add some more screws!
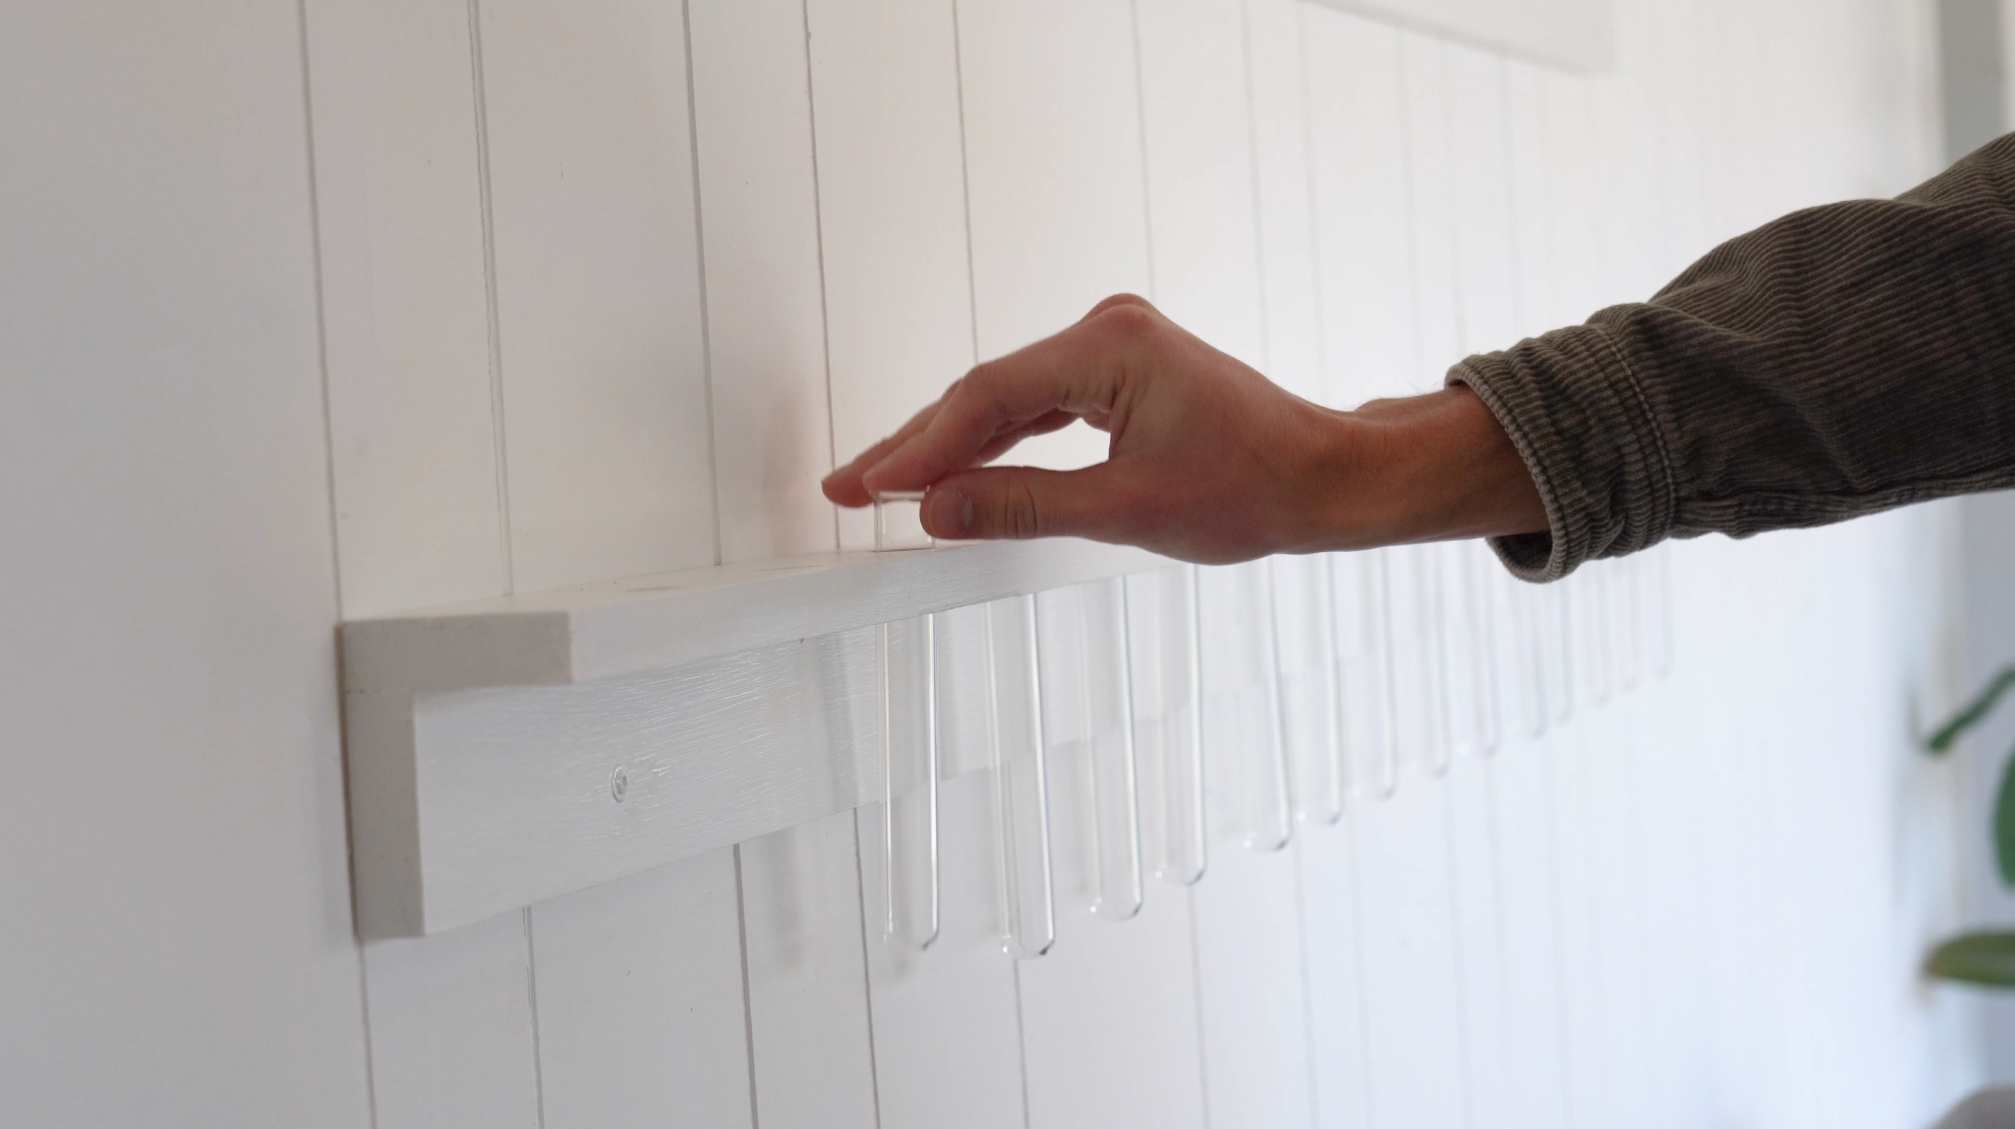
Step 9: Test tubes!
Ok this step is pretty self explanitory you now you just need to add the test tubes to your shelves + add water!

I tried using my watering can at first which was a total mistake because I spilled water all over the couch and the wall lol. I ran to the store and picked up a little ketchup bottle that made this process so much faster! I eventually bought these little watering bottles with a fine tip point that make it even easier!

Step 10: Plants!
Now the last step is to grab some clippings from your favorite house plants and add them to the tubes! If you are new to propagating plants, the easiest plant I’ve found to propagate is a Pothos plant and I think they look so good!


That’s it!
I think this project is such a fun beginner friendly DIY project - especially for plant lovers! I really like that it adds a little bit of life to the space above my couch and I’m excited to watch the progress of the plants and see their roots sprout!
Once the roots get long enough on a clipping, I’ll transfer that clipping into a pot and then repeat the process. How fun would that be to have a little plant part where everyone decorates their own pot and then I give them a propagation plant to plant in it??! Going to plan this for sure!
If you want to see in a little more detail how I built this project, make sure to check out my DIY Plant Propagation Station youtube video.
Thanks for following along with this project, I hope it inspired you in some way to start a project of your own! See you next time!

