Mother’s Day Makeover 🌷🔨
Quick Links
Disclosure: This blog contains affiliate links. I will receive a commission for items purchased through these links at no extra cost to you. I appreciate your support! Please read all labels and follow all manufacturer safety recommendations when working with paints, stains, and other equipment. This project was also completed as part of a paid partnership with Hart tools for my social media pages. They are not paying me to write this blog post but I did want you to know they sent me tools to use for this project.
Decor:
Tools:
Need a tool for something else? Check out the full list of Hart tools here.
My mom has been wanting help decorating her house for so long….sooo….. this year for mother’s day I flew out to California to give her dining room makeover 🔨 BUT she’s a cool mom so she helped me DIY the whole thing!
The Before
The dining room is kind of in a weird spot of the house. On one side is the garage door, one side is the slider to the backyard, one side has a door to the living room, and the last side opens up into the kitchen walkway. AKA the dining room is a four way hallway 🤪
Decorating in this space is kind of hard! When my mom moved into this house a few years ago she found this table at a thrift store, had it painted white, and then bought some new chairs for it. There also used to be an upright piano in the corner that had a couple pictures resting on top of it, but that honestly made the space feel pretty cramped! She sold the piano a few years ago, but since then there has only really been a clock up on the wall. It was definitely time to give this space a little more life 🎉
Coming up with the plan….
TBH I had NO idea what we were going to do for this project before I arrived in California. I flew in late on a Thursday night and the next morning my mom and I woke up early to grab some breakfast and make a game plan!
After scrolling Pinterest for a little while we landed on doing an accent trim on the lower half of the wall and then building a little console/plant table for the space where the piano used to be! 10/10 recommend making your design plans over breakfast!
Board and Batten Accent Trim
One of my favorite (and easiest) ways to add some structure and visual interest to a room is by adding trim. The board and batten style is one of my favorites to do!
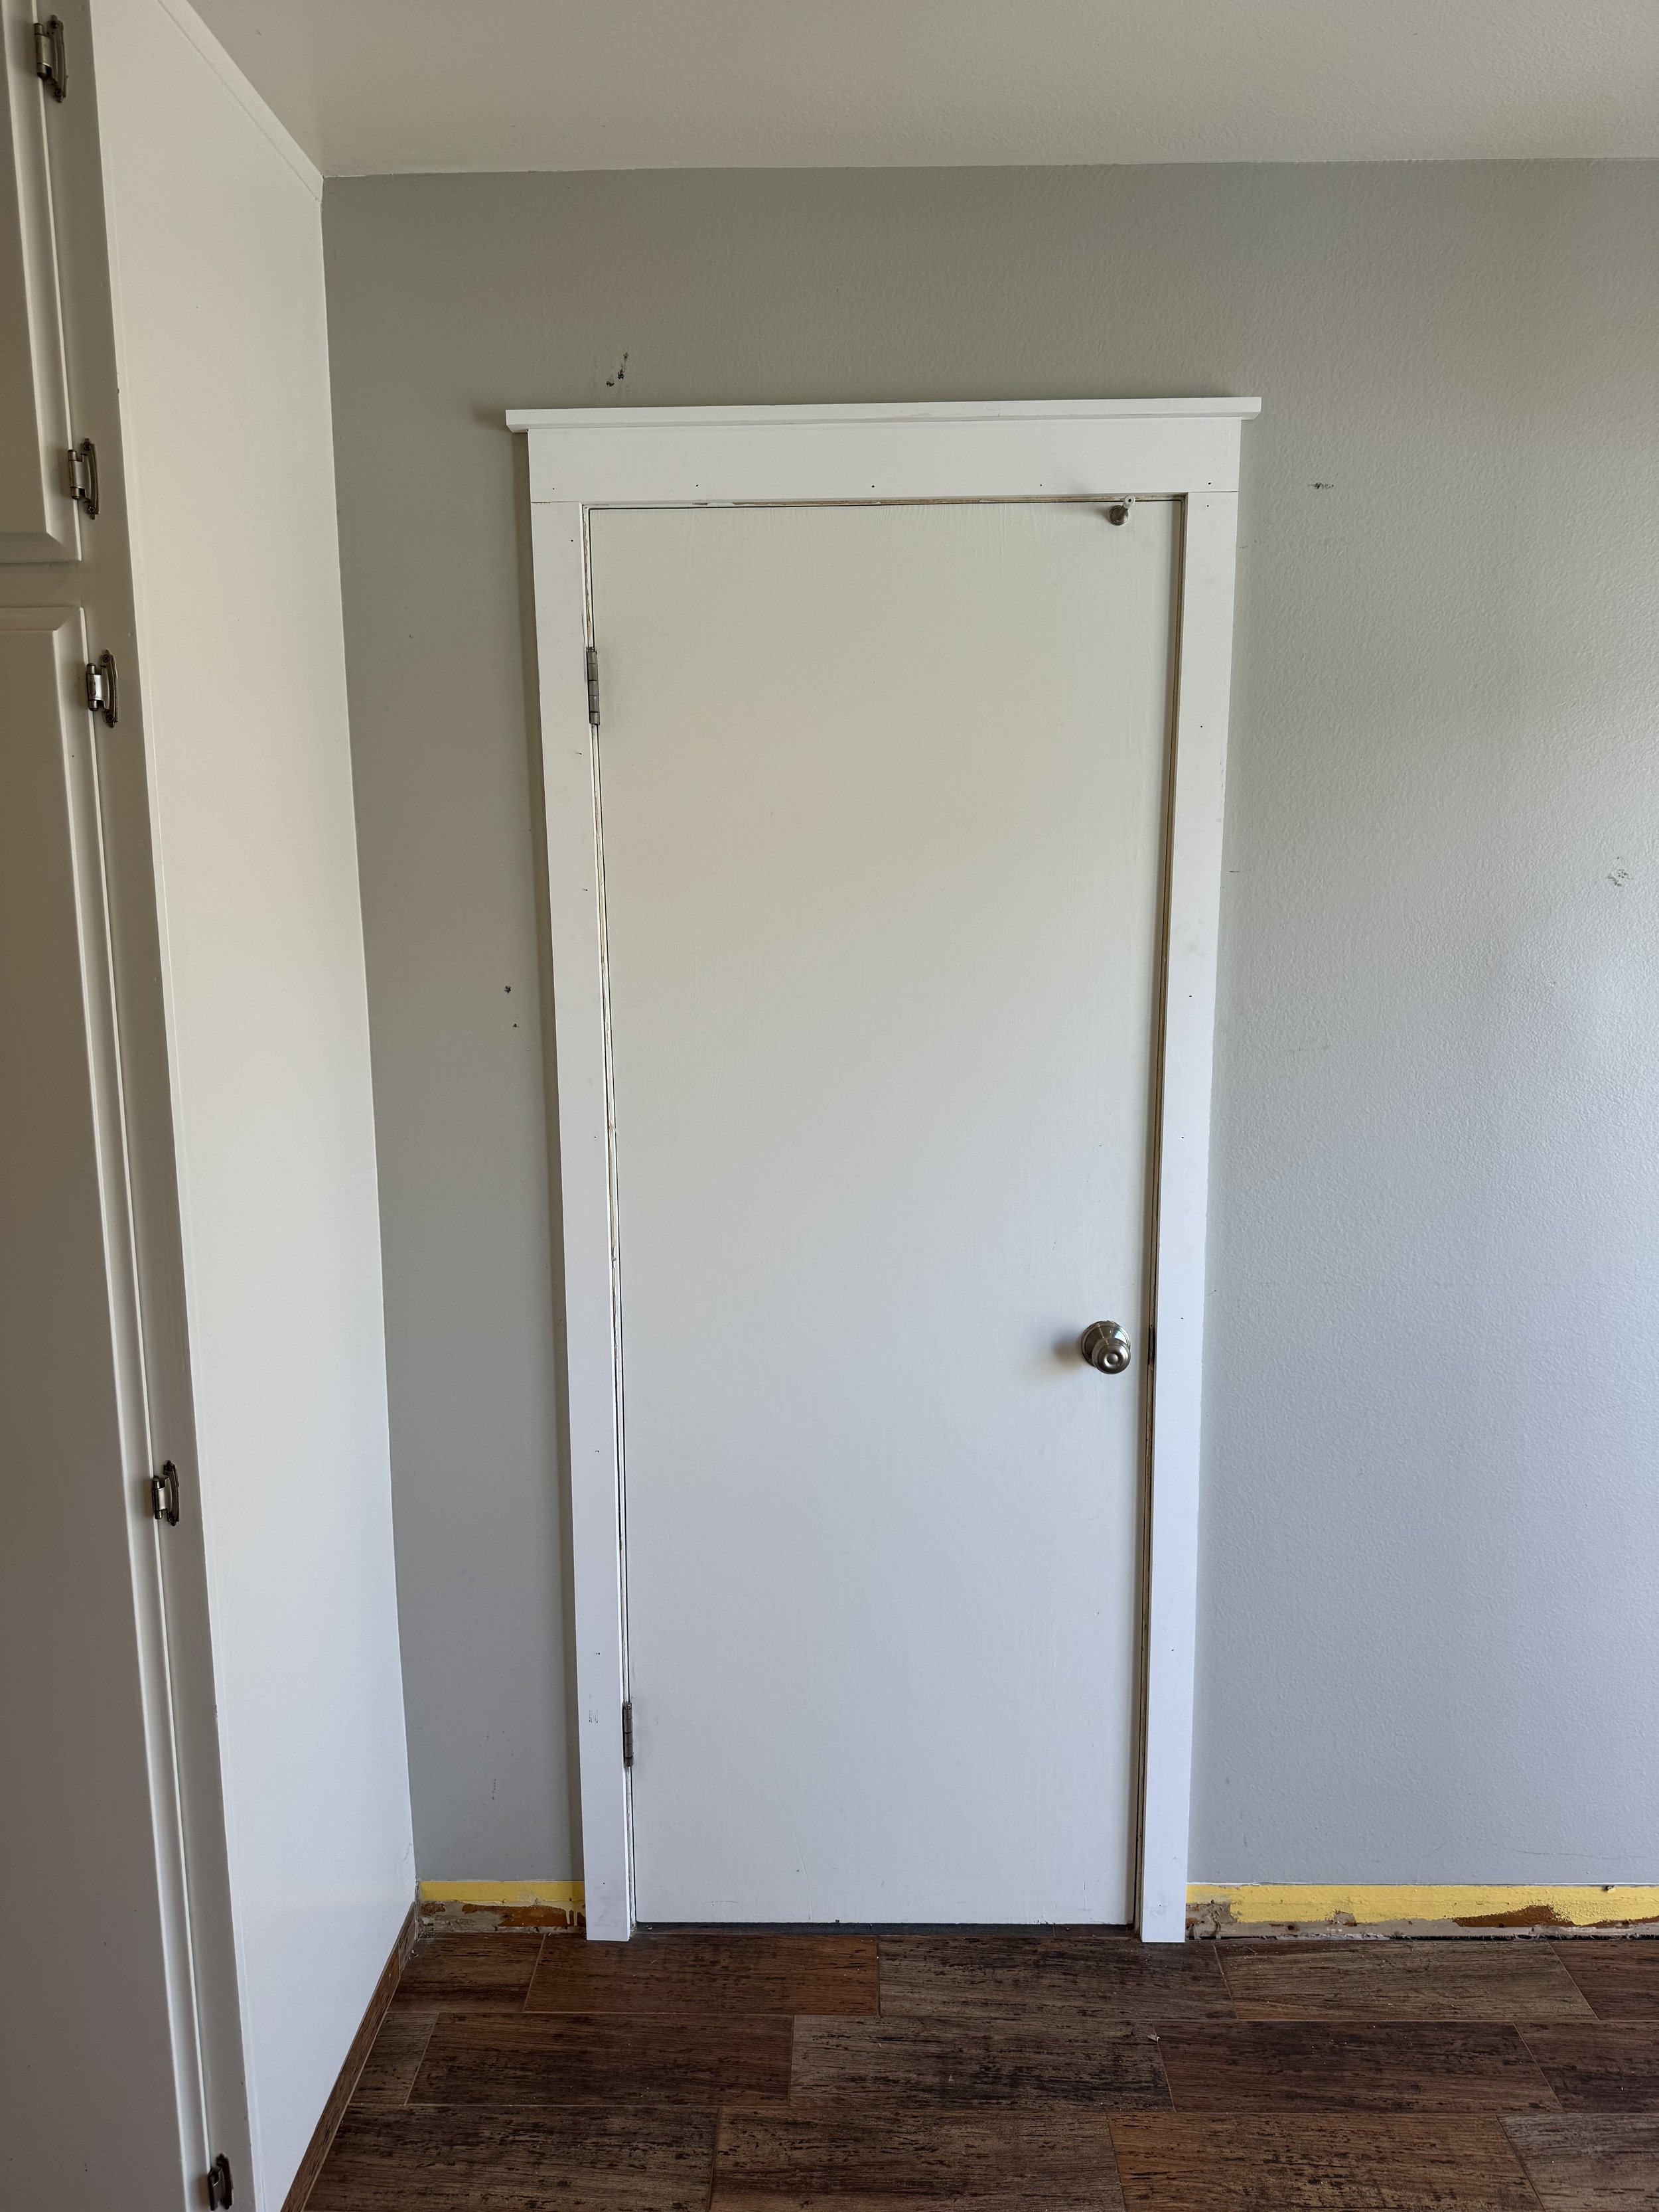
The trim we used to make our pattern on the wall were 1x3 primed pine boards (aka, they were 1inch thick by three inches wide). The existing baseboards and door trim were pretty skinny so we had to remove them to start. If we didn’t the new trim would look really funny where it touched the old baseboards.
To remove the trim it’s actually really easy! To do this start by cutting along the crack where the trim touches the wall with a utility knife. This will break the caulk and make it easier for the trim to detach from the wall without causing damage. Then place your trim puller flat against the wall and tap it down with your rubber mallet. This will wedge the trim puller between the wall and the board. Once it’s wedged in there lift up on the handle and it should pull the board away without damaging the wall!
After we removed the old baseboards we replaced them with 1x4 boards (which are the same thickness as the new wall trim) and then created this custom door trim pattern for around the doors and slider. The sides of the doors are 1x3, the top is 1x4 with a 1x2 on top of it all to create a little ledge! We used a battery powered nail gun to install all the trim boards.
Can you even believe the walls of the kitchen/dining room all used to be this BRIGHT yellow color??
Up close of the new door trim! Looks so much better!
If you are ever installing some accent trim I highly recommend using blue table to practice your design on the wall first! We made a couple adjustments to our plan after seeing it up on the wall like this.
When in doubt….tape it out!
Thankfully my mom had smoothish walls, so all we had to do was add our trim (battens) onto the wall to make our pattern! If you had super super textured walls, like I do in Texas, I like to start projects like this by first adding hard board to the wall to cover up the texture, and then the battens on top of that.
We decided to only take the trim partially up the wall to make it kind of feel like wainscoting/chair rail. This was my mom’s favorite pattern from our Pinterest breakfast planning session haha
The worst part of doing accent walls is having to fill all the nail holes with wood filler/sanding etc. To fill the nail holes and the seams between two boards I like to use this wood filler. After it dries we hooked up a random orbital sander to a shop vac and then sanding all the seems until they were super super smooth. If you can feel a bump with you hand, you will see it in the finished paint.
Tip: Sometimes when you go to put the next piece of trim on the wall it feels like it doesn’t match up at all! Often times the piece of wood it’s connecting too feels like it’s coming out much farther from the wall. When this happens I add a little bit of cardboard behind the board I’m installing to make that seam flatter. This will make the wood filler/sanding phase so much easier!
My mom’s (and mine’s) LEAST FAVORITE part of the entire project was having to caulk all the gaps between the wood and the wall. We wiped off the excess caulk with baby wipes which always makes the process so much easier. After the caulk dried, we painted the walls the same off-white color as the kitchen cabinets and the trim so it all blends together in a nice way and connects the two spaces. It took three coats of paint to look good 😅
How to build a plant stand/console table 🌱
In the corner of the room (where the piano used to be lol) we decided to build this little flower/plant table. My mom definitely has more of a rustic horse girl style, but she lives at the beach so I tried to combine the two of those styles together with this room and table design!
Table Legs: 2x2 select pine boards
Shelf: 2x2 select pine boards
Under top supports: 1x1 pine boards
Table top: 1x12 pine board, cut in half and glued togetherd
To build a base for the table, we attached all the legs together using 1x3 pine boards and pocket screws. In the 1x3 boards, we drilled pocket screws into each end (which attaches to the legs), and all along the top of the board (which will attach to the table top).
We used this pocket hole drill kit, wood glue, and these clamps to hold everything together while assembling the base!
For the table top my mom found this piece of rough pine at the store that she liked the big knots in! I wanted the table top to be thicker than the legs, so I cut the board in half and glued the two pieces together. After that dried I used the microwave plate cover (LOL) to draw a curve on each end of the board.
Using my jigsaw I cut out the pattern and then sanded all the edges down with the handheld sander. I probably could have filled the knots, gashes, and cracks on the table top but decided to leave it a bit rougher to learn into that rustic feel. The table top attached to the table base with pocket screws as well!
Here is what it looked like all screwed together! Milo approved 🐶
UGH.
After finally finishing building the table it was time to move onto staining. I am one of the worst stainers in history and this project was no different lol. I wanted a dark stain to contrast against the white walls, so my mom and I landed on a dark dark black color.
Well, I’m not sure exactly what happened but the stain came out looking really really just weird. I think there was also some sections that the wood glue didn’t get somepletely sanded off so it ended up looking extra bad in those sections!
I was ready to just call it quits with this LOl, but my mom convinced me it would be a good idea just to paint it instead. She picked out this really nice dark green color, I gave it a couple quick coats of paint, and just like this we totally saved the table!
TA-DA
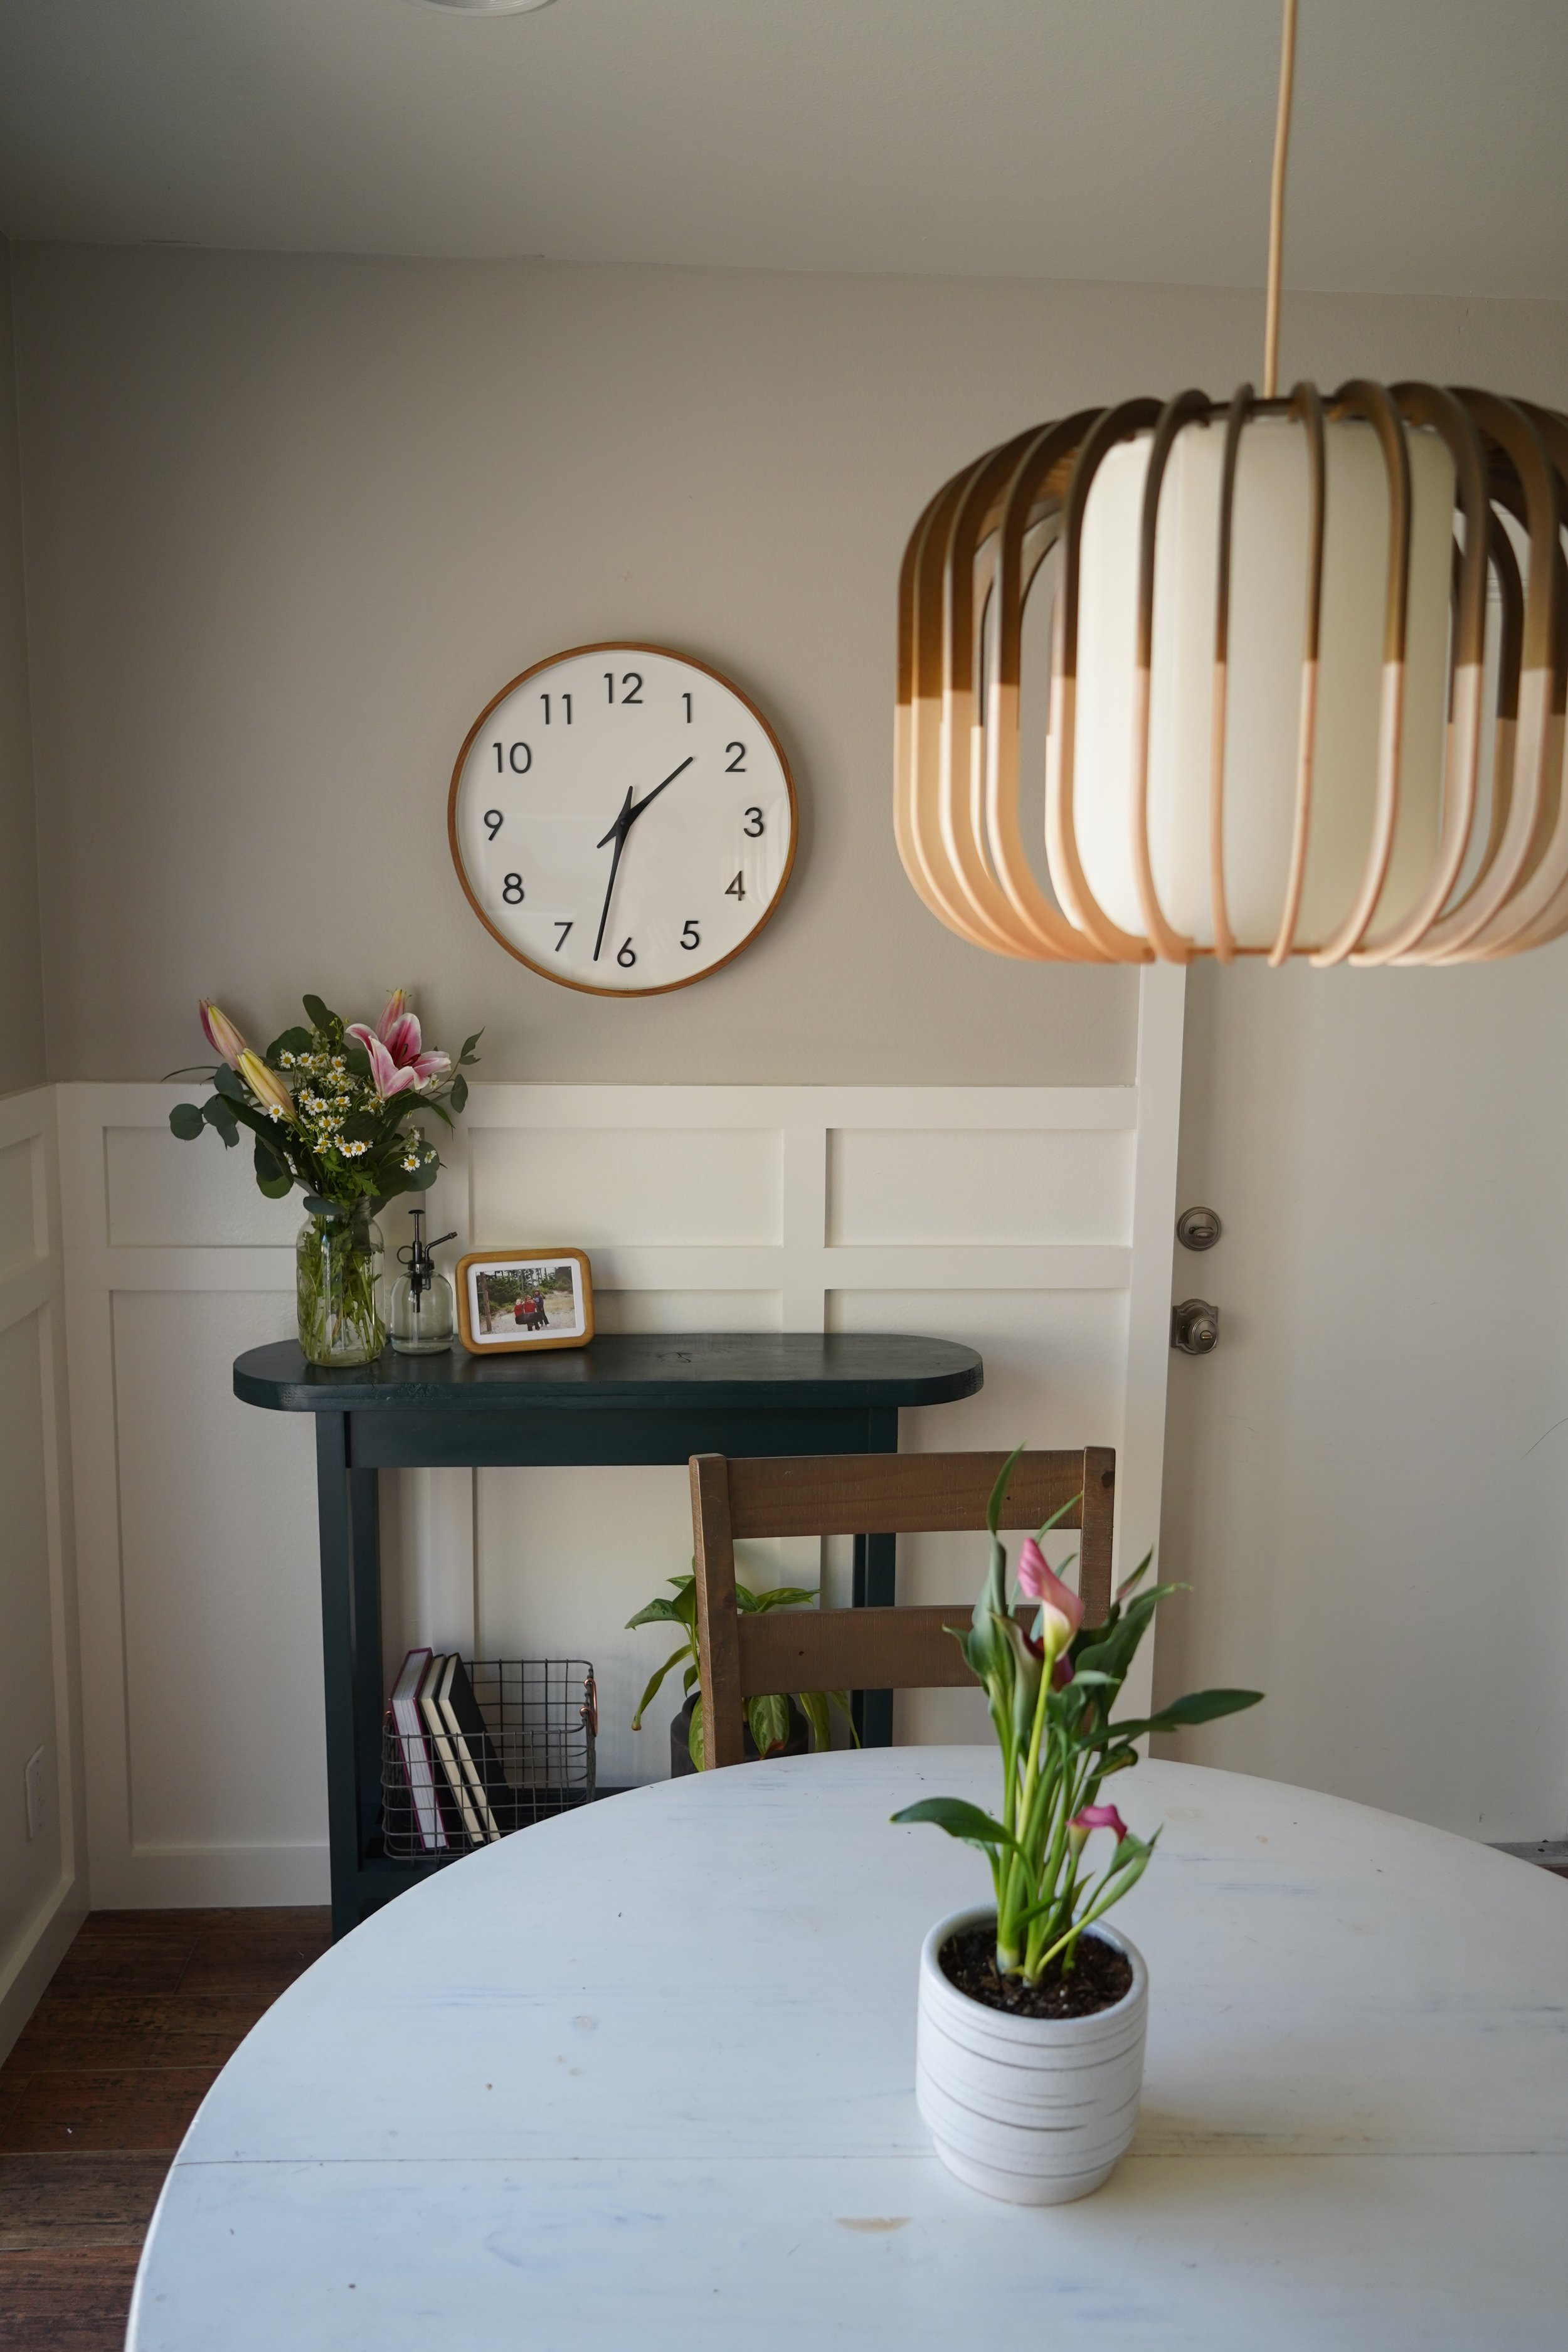
After adding in a couple of decorations, swapping the fan for a light, plants, etc. the space is done!! I love that this room feels significantly less like a hallway now LOL it just feels so much more intentional!
While I love the way the project turned out, my favorite part was just getting to work on this with my mom! I hope she loves her new room and I can’t wait for the next time we get to collab! Love you mom!


